Planning to pour a new concrete slab? Before the concrete truck shows up, there’s some essential groundwork that needs to be done. Whether you’re planning a new driveway, shed base, or patio, solid site prep is the foundation of successful concrete slab installation. Skipping steps or rushing the prep can lead to drainage issues, uneven settling, or costly repairs down the track. To help you get it right from the start, we’ve put together a practical step-by-step checklist for preparing your site before the pour.
1. Clear the Area
The first step is simple but important. Clear the site of anything that doesn’t belong, and that includes removing grass, weeds, rocks, roots, or any old concrete that’s in the way. If there are trees nearby, it’s also a good idea to cut back that could grow under the slab later on. Leaving plant matter or debris under the slab can lead to problems. As organic material breaks down, it creates gaps and soft spots in the ground, causing the slab to settle unevenly or even crack. Clearing the site properly gives you a stable starting point to build on.
2. Mark Out the Area
Once the ground is cleared, it’s time to mark exactly where your slab will go. Use timber stakes and string lines or spray paint to outline the perimeter of the slab. Double-check your measurements and make sure the layout lines up with your plans.
Getting the layout accurate ensures the slab is poured in the right place and to the correct size. If you’re building something like a patio, shed, or driveway extension, this step helps everything fit properly without awkward overhangs or gaps you’ll need to work around later.
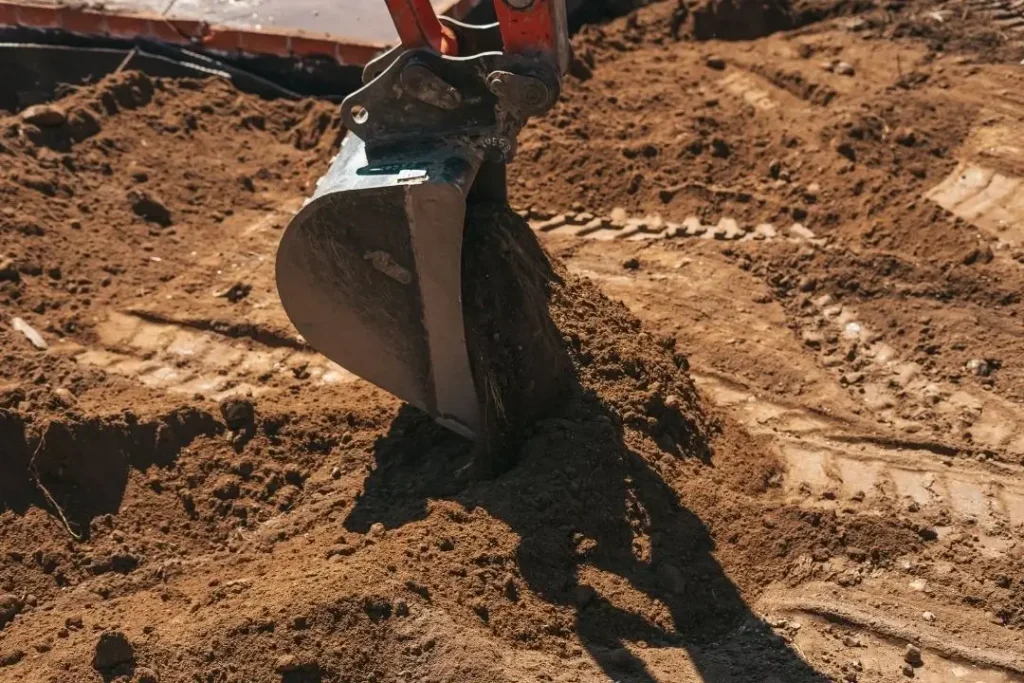
3. Excavation
Once the area is marked out, it’s time to dig. Excavate the ground to the required depth for your project. For most residential slabs, this is usually around 100 to 150mm, though deeper excavation may be needed for structural work or heavy-use areas like driveways for heavy vehicles. For more info on the minimum concrete slab thickness, click here. You can dig by hand for small jobs or use a mini-excavator for larger or more complex sites.
Excavating to the right depth makes sure that there’s enough room for the base layers and the slab itself. If the ground isn’t level or the depth is inconsistent, you could end up with an uneven slab or weak spots that may lead to cracks or shifting over time.
4. Check Ground Slope and Drainage
Before moving on, take a moment to assess how water will flow across the site. The ground should slope slightly away from your home or nearby structures. You might need to do some minor regrading or add a shallow trench to help direct water where it needs to go. In Queensland’s wet climate, poor drainage can quickly lead to problems. If water pools under or around the slab, it can cause erosion, shifting, and structural damage over time.
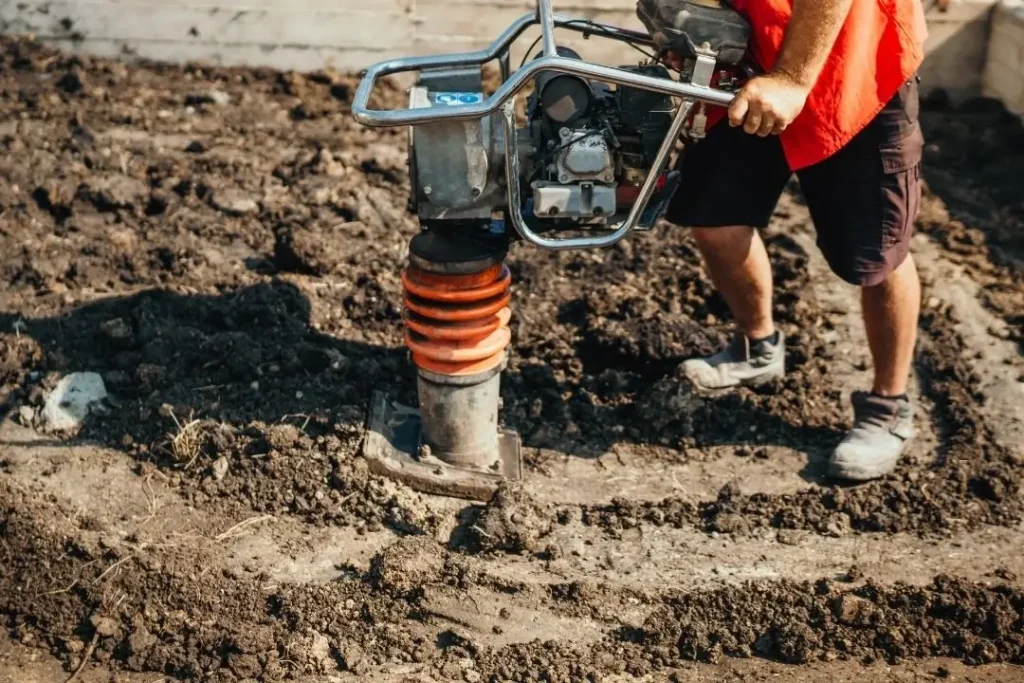
5. Compact the Subgrade
Once the site is excavated and graded, the next step is to compact the subgrade or the natural soil beneath the slab. Use a plate compactor or mechanical tamper to firm up the surface. Make a few passes across the entire area to ensure even compaction. Compacting the subgrade creates a solid foundation for your slab. If the soil is soft or uneven, the concrete may settle over time, leading to cracks and an uneven surface. Proper compaction helps the slab stay stable and well-supported from the ground up.
6. Add a Base Layer
After compacting the soil, it’s time to add a layer of crushed rock or road base across the entire area. Spread it evenly to about 75 to 100mm thick, then compact it thoroughly just like you did with the subgrade. The base layer adds strength and helps with drainage under the slab. It also creates a more stable surface that reduces the risk of movement or cracking over time.
7. Add a Bedding Layer
On top of the compacted base, you can add a thin layer of bedding, usually sand or crusher dust, depending on the type of slab you’re preparing. Spread it out evenly and give it a light compaction to level everything off. The bedding layer helps smooth out any minor dips or gaps in the base, creating a flatter surface for the concrete to sit on.
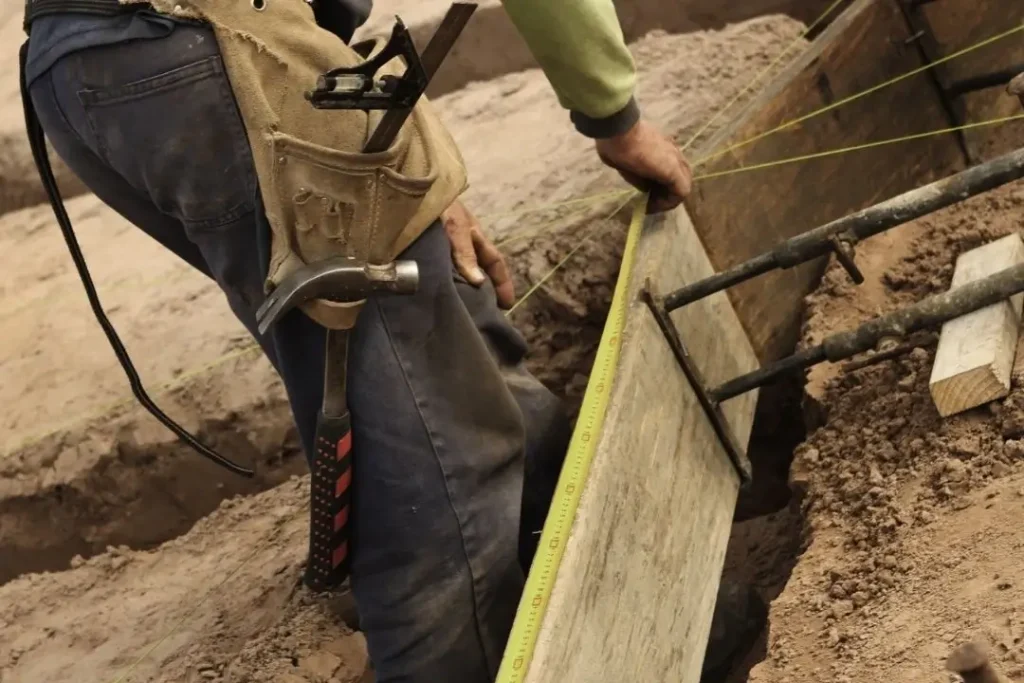
8. Install Formwork
Now it’s time to build the formwork that will shape your slab. Use straight timber boards or steel formwork to outline the perimeter. Make sure everything is level and securely braced so it won’t shift when the concrete is poured. Formwork holds the concrete in place while it sets, helping it keep its shape and stay within the correct dimensions. Well-built formwork creates clean edges and an even surface across the whole slab.
9. Lay a Moisture Barrier
Before pouring any concrete, roll out a plastic moisture barrier or builder’s film across the compacted base inside your formwork. Overlap the edges slightly and make sure the sheeting reaches right to the edge. This stops the moisture from the ground seeping into the concrete, which can weaken it over time. It also helps the curing process by keeping the mix at the right moisture level as it sets, resulting in a stronger, more durable slab.
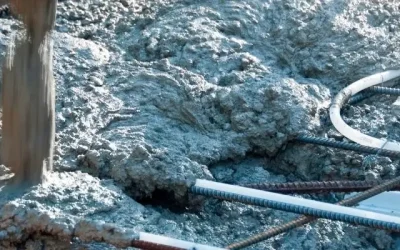
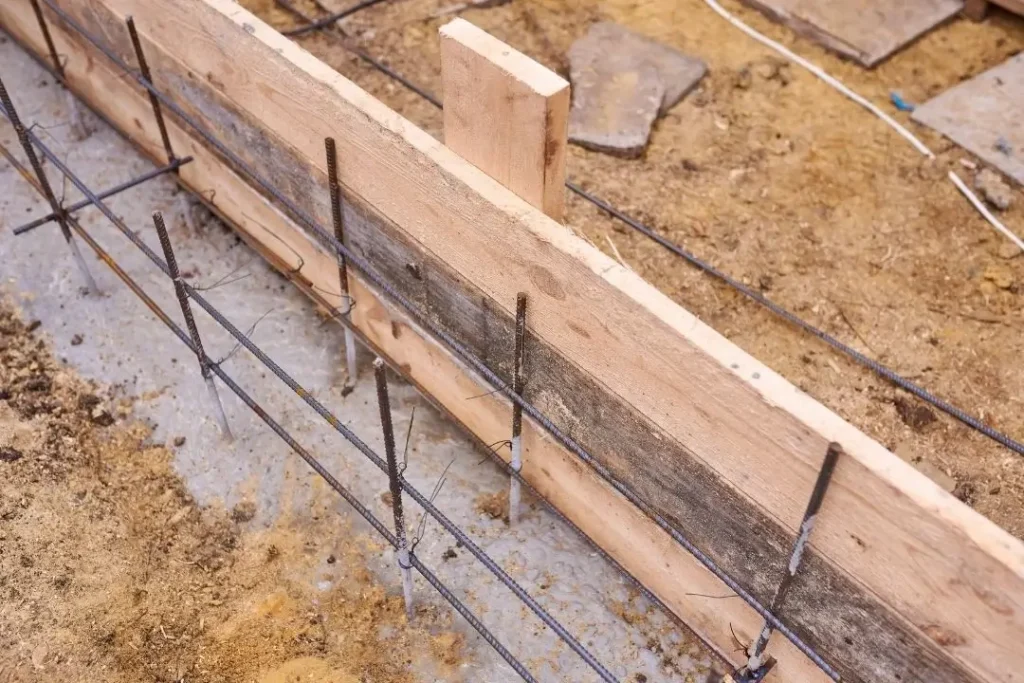
10. Install Reinforcement
Once your moisture barrier is in place, it’s time to lay the reinforcement. This means placing steel mesh or rebar inside your formwork. Use plastic chairs or spacers to lift the reinforcement off the ground slightly so it sits in the middle of the slab once poured. Reinforcement gives your concrete slab added strength. It also helps spread loads evenly, reduces the risk of cracks, and boosts the slab’s durability, especially for driveways, shed slabs, and other areas that bear a lot of weight.
11. Final Check Before Pouring
Before the concrete truck arrives, take one last look over the entire site. Check that your formwork is sturdy, reinforcement is correctly positioned, and the moisture barrier hasn’t shifted. Make sure everything is level and nothing has been missed. Catching small issues now saves a lot of hassle later. Once the concrete is poured, it’s not easy to fix mistakes. Taking the time for a quick final inspection helps ensure your slab turns out strong, level, and ready to last.
Laying the Groundwork for a Solid Concrete Slab
Proper site preparation is the backbone of any successful concrete project. From cleaning and levelling the site to compacting the base and setting up formwork, each step plays a vital role in how well your slab will perform over time. If you’re keen to make sure your concrete stands the test of time, it’s worth reading about the 5 key factors that influence concrete lifespan. Getting the groundwork right is what sets the stage for a smooth, durable finish, whether it’s for a new patio, driveway, or shed base.
If you want your concrete done properly, it’s best to leave it to the pros. We’re experienced concrete contractors serving Caboolture and surrounding suburbs down to North Lakes and up to Beerwah and the Sunshine Coast. From clearing and compacting to setting up solid formwork and steel reinforcement, we’ll make sure your slab is built on a strong foundation. Give us a call on (07) 5408 6099 for a free quote!